
 As I said last week, I'm a big fan of fingerless gloves, sometimes called wrist warmers. They keep my hands nice and toasty even when it's freezing in my office.
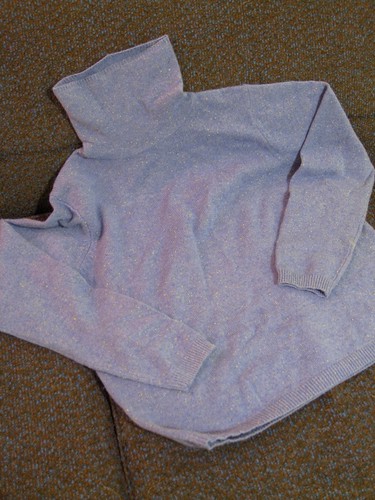
There are a ton of great fingerless gloves for sale on Etsy, but I chose to make my own. I decide against knitting a pair since I'm a poor knitter -- I drop so many stitches it always looks like moths have already eaten holes in my pieces. Instead, opted to make a pair of fingerless gloves out of -- you guessed it -- an old wool sweater.
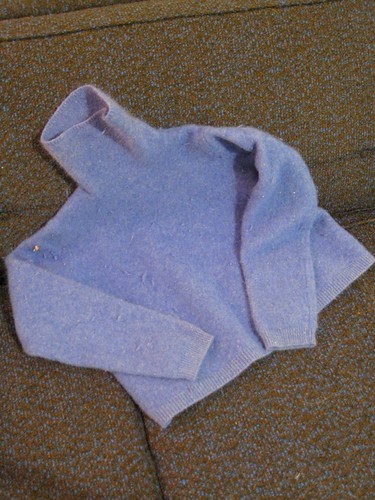
Old wool sweaters are a great raw material for crafters who are interested in making fun and unique accessories for themselves and their homes. Once felted, wool sweaters can be cut without the risk of unraveling.
(P.S. Sorry for the wonky color in the photos. Apparently the auto white balance on my camera wasn't cooperating.)
What you need:
What you need:
- wool or wool-blend sweater
- washing machine
- laundry detergent
- scissors
What to do:
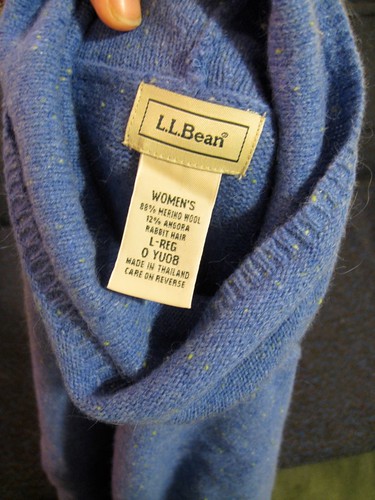
- Stop by your favorite thrift store and pick up a sweater. You'll have best results with sweaters that are 100% natural fibers—100% wool, 100% merino, 100% cashmere, or blends of wool and other natural fibers like angora or alpaca. Sweaters that have nylon in them can pill during felting, although they don't always. Do not use sweaters that say they are machine washable. The yarn in these sweaters has been treated so that they can be machine washed, but the treatment prevents them from being feltable.
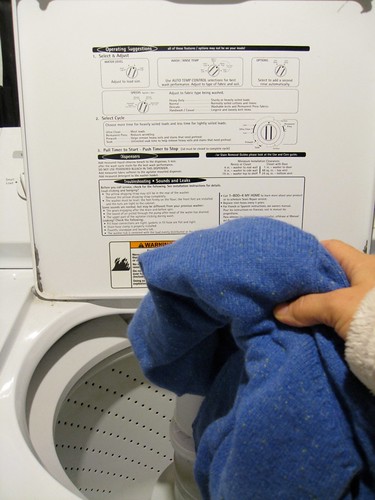
- Fill your machine with enough hot water and leave room for the sweater to agitate. Add laundry detergent-—a little less than the recommended amount.—and an old towel or pair of jeans to help with the agitation. The hot water and detergent allow the kinky fibers of the wool to rub together and eventually interlock. Technically, this process is called fulling but many crafters use the term felting instead. Dry the sweaters in the dryer on medium or high.
- Cut the sleeves off of the sweater.
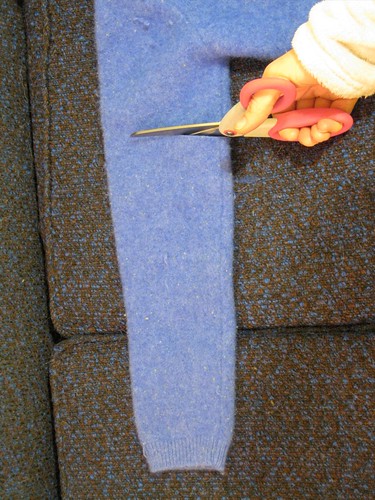
- Try on the cuffs and use a pin to mark where you would like the thumb holes to be. You don't have to cut thumb holes, but I've found that the gloves stay in place better with them.
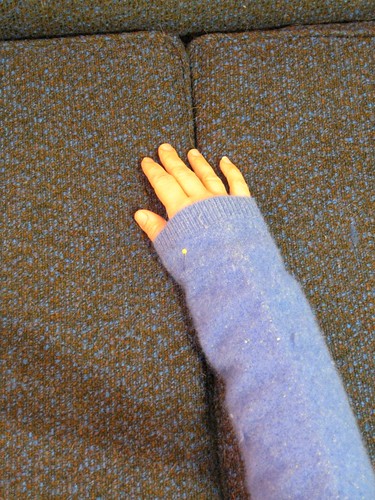
- Cut a dime-sized opening for each thumb hole. The openings will stretch a little as you wear the gloves, and you can always enlarge the openings later if you need to.

- That's all! Now you can type to your heart's content without your fingers going numb.
Don't forget -- this is the first regular week of projects over at So You Think You're Crafty. I feel like I put together a project that really represents who I am as a crafter. I can't tell you which project is mine, but you might be able to guess. So please, stop by and vote!
2 comments:
I've destroyed two sweaters this winter because of the dryer. I made pillows our of the sweater fronts and backs but the sleeves were to small to cut and use. This is perfect! Thanks.
Ooh, the pillows sound great! I'd love to see photos. And I'm glad to hear that the sleeves can now be put to good use.
Post a Comment