
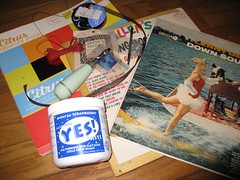
What you need:
+ Two old record album covers (save the records and make record bowls)
+ Craft knife
+ Paste
+ Old credit card
+ Straight edge
+ Aluminum duct tape
+ Scrap paper
+ Permanent marker
+ Japanese screw punch
+ Scrapbook paper stack
+ Needle
+ Ribbon
What to do:
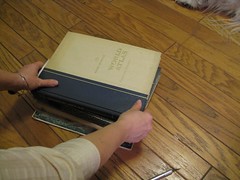
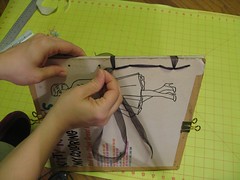
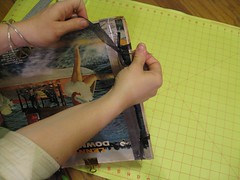
1. Pick out two album covers. Cut open three sides of each album with the craft knife. Using an old credit card, spread paste evenly along the inside of each album cover. Then put a few heavy books on top until the paste dries.
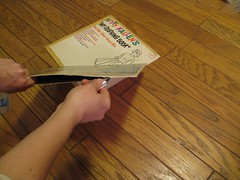

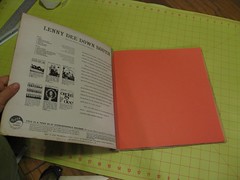
2. Use a straight edge and a craft knife to cut the front cover into two pieces, with the smaller piece being 1 inch wide. Then use two pieces of aluminum duct tape (one front, one back) to join the two pieces into a hinged cover.
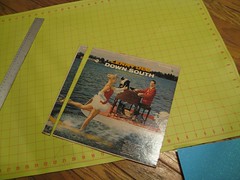

3. Use a piece of scrap paper to plot the layout of the holes, and then mark the holes on the cover using a marker. Drill the holes using the screw punch. Repeat with the back cover.

4. Use the template and the screw punch to drill through the scrapbook paper. I recommend using just 1/3 or 1/2 of the stack--otherwise you'll never get all the layers drilled. The gummed edge should be sufficient to hold all of the pages together while you're drilling.


5. Assemble the top cover, pages, and bottom cover and hold in place with two binder clips. Then thread the eye of a needle with ribbon and then lace through the holes. When finished, tie off.
6. That's all! Start jotting down your creative ideas in this unique journal.

No comments:
Post a Comment