
What you need:
Pint-sized carton
Permanent marker
Craft knife
Glue
Collage papers
Figurines
Foam brush
Tissue paper
Scrap wood
Lamp kit
What to do:
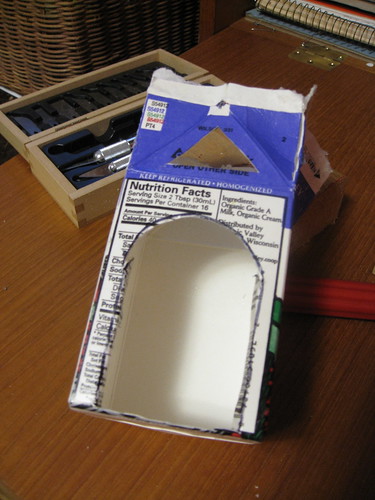
1) Open the top of a pint-sized carton, use a craft knife to cut between the upper flaps, and wash the inside of the carton. Use a permanent marker to draw the doghouse door and then cut it out with a craft knife. Also cut a small triangular opening above the door.

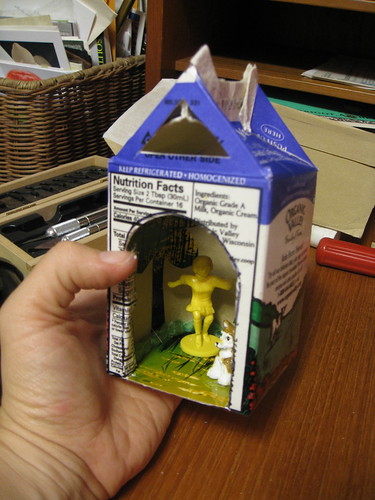
2) Cut a piece of paper to serve as the floor of the doghouse and glue in place. Cut a piece of heavyweight paper to be the backdrop, making sure it will slip comfortably inside the carton in a vertical U-shape. Use paper, old photographs, stickers, crayons or colored pencils to decorate the backdrop. Slide this inside the carton and glue in place. Also glue the dog and yellow girl figurines in place.

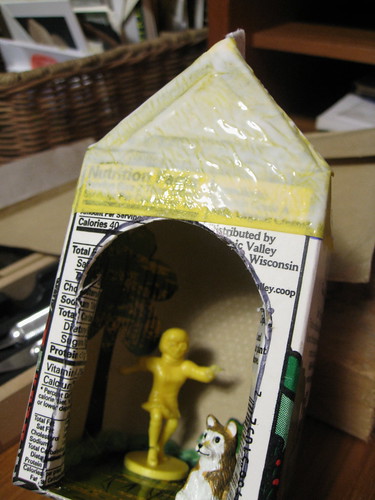
3) Glue the roof together. With the door of the doghouse facing you, push the left and right flaps together and glue in place. Then fold the free edges of the front and back flaps over the other flaps and secure with glue. (Note: A strong contact adhesive like Welder works well here.)


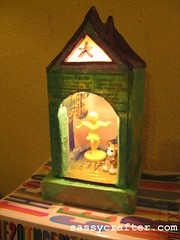
4) Use the foam brush to put a fine coat of glue on the sides and roof of the doghouse. Add small squares of tissue paper, coat with another layer of glue, and repeat. Be sure to add several layers of tissue over the triangular window for strength. You will probably need to add the tissue in stages, allowing dry time between layers. When you've added enough layers, glue the doghouse to a piece of scrap wood collaged with matching tissue paper, which will help keep the lamp from tipping over.
5) Take the craft knife and cut a hole in the rear of the doghouse and insert the candelabra-sized lamp kit. Now your lamp is ready for action!

This column originally appeared in the August 2008 issue of The Satellite, North Central Florida's finest arts and entertainment magazine. Thanks to John D. Richards, formerly of The Temple of Great Art No Spitting in St. Augustine for the inspiration.
2 comments:
Saw it on Twitter...this is too cute...love it...
ADELANTE!!!
Zulmara
This is very cute - my friend's 9 year old loves to make things with cardboard boxes. I'm going to send it to him!
Post a Comment